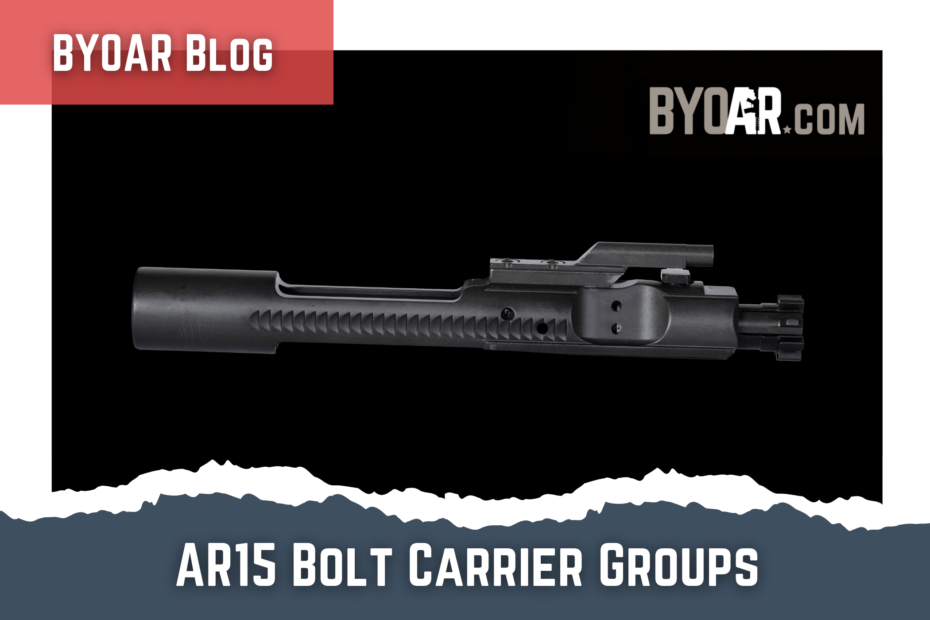
How A Bolt Carrier Works
A direct impingement AR rifle works by blowing excess pressure and gasses back into the bolt Carrier key and causing the backward motion of the carrier group. The buffer spring forces the carrier group back into position. This is known as the “Cycle”. This inherently causes a dirty rifle. All that carbon and fouling quickly builds up on your bolt carrier group and inside your upper receiver. This means you need to clean your AR rifle more frequently than you would a bolt action, lever action, or pump-action rifle.
The first two questions I ask when someone’s rifle is not cycling properly are: when is the last time you cleaned your rifle, and has it been properly lubed? Until you do those two things a proper diagnosis is nearly impossible.
Bolt Disassembly Video Guide
For the sake of this blog, I will assume you know how to remove the charging handle and bolt carrier group from your rifle. If you don’t, watch my video to see how this is done. I show the complete disassembly, cleaning, inspection, and reassembly of the bolt carrier group here. This blog is a quick overview, the video will show you exactly how to do the job. I like videos better than pictorial step-by-step directions myself.
Firing Pin
Once you have the bolt carrier group out, remove the firing pin retaining pin with a thin punch or needle-nose pliers. This will allow the firing pin to slide out the back of the carrier group. If you’re gunked up you might have to help it along. Next push the bolt back into the carrier and rotate the cam pin 90 degrees and lift it out the top barely squeezing alongside the carrier key. Pull the bolt out the front of the bolt carrier. We are now ready to disassemble the bolt itself.
Place your thumb over your extractor and press down slightly. This will take the pressure off the extractor pin. Push the extractor pin out with a small punch or even the firing pin in an emergency. The extractor is under a bit of spring tension so don’t just let it fly. Remove the spring, spring pin and donut and set aside. If you’re having ejection issues you can remove the ejector pin (see video). I don’t typically do this unless I am having issues or every third or fourth cleaning cycle. You can remove the gas rings at this point with a small dental pick similar tool, if you are going to replace them. I typically do not remove them unless I intend to replace. ( see video to learn how to check gas rings for a proper seal.) if you have a really dirty rifle that has sat for some time the rings may be seized in place. Soak in solvent until they spin freely again, oil well and make sure ring splits are not lined up to ensure proper seal.
Clean everything with a good carbon solvent and a bronze or brass scraper. I am really interested to try one of these ultrasonic cleaners and see if they are worth the money. Inspect all components for wear and cracks or damage. Oil all components and reassemble in reverse order.
Now get out there and dirty up that rifle again.
Be safe, shoot straight, and have fun.