The single most common configuration or AR15 rifle is the style you see below. Commonly called a MIL-SPEC AR15 or an A2 style rifle. It has a MIL-SPEC buttstock, an A2 front sight post and the plastic clamshell handguard that does not allow for any attachments to your rifle. No lights, lasers or grips. So what do you do about that? Well the first thing I recommend is to shoot the rifle the way it is for a while and get comfortable and proficient with it in the configuration that it is in. Take it apart, clean it, inspect it and really get to know how it works.
Now that your are comfortable with your rifle, it’s new handguard time.
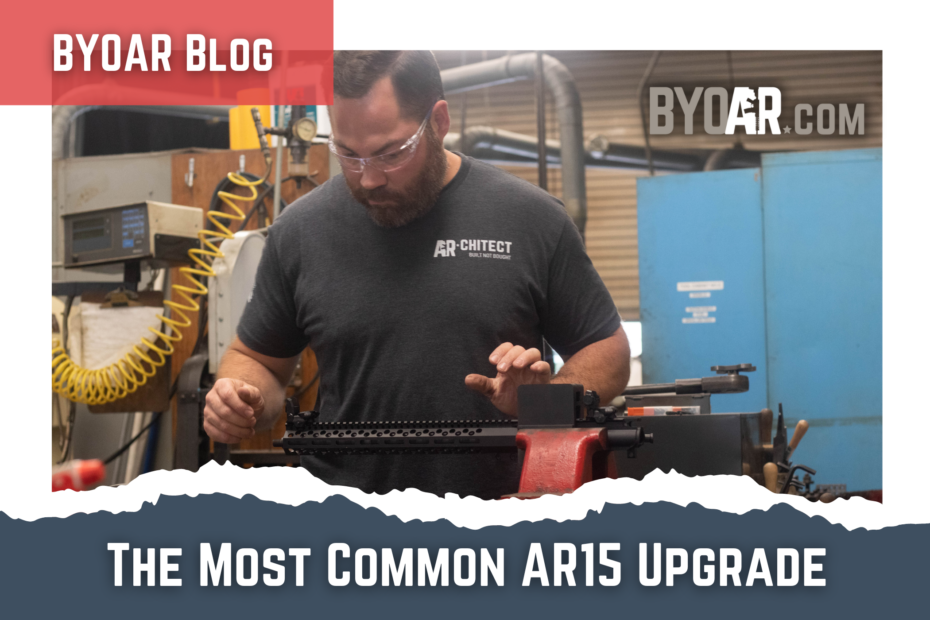
After you have done that now you are ready to upgrade. The most common upgrade that almost everyone does is a free floating handguard. The picture below has at least 4 upgrades, ( handguard, buttstock, pistol grip and muzzle device. ) I cannot stress enough to make sure you know your state or local laws before you begin upgrading your rifle. Some upgrades can make your rifle non-compliant with some state laws. But notice how much of a difference the handguard makes in the look of the rifle. It is the first thing that really jumps out at you.
What you need as far as parts go to do this upgrade are these:
⦁ Handguard with barrel nut and all mounting hardware.
⦁ Low profile gas block with all mounting hardware.
⦁ New crush washer ( they are not re-usable. ) this is the perfect time to change your muzzle device if you so desire as well.
⦁ New front sight or red dot sight/optic of your choice.
Before you get started you are going to need some tools. You will use these tools time and again as you continue to upgrade and maintain your rifle. So don’t worry, it is not a one time investment.
At a minimum here is what you need to replace your handguard:
⦁ A handguard removal tool (not absolutely needed but makes job easier.)
⦁ An armorers wrench (will be used in several places on your rifle.)
⦁ A bench vise.
⦁ An upper vise block or a spline tool to hold the upper in the bench vise.
⦁ A good punch set made from good hardened steel (not cheap foreign junk.)
⦁ A hammer.
⦁ A bench block (to pound tapered pins out of A2 front sight post.)
⦁ Maybe a pipe wrench if you have a stubborn MIL-SPEC barrel nut.
⦁ Anti-seize for the new barrel nut
⦁ Appropriate size wrench for your new barrel nut (some handguards come with them some do not.
A good AR15 tool kit will come with almost all of this and is a worthwhile investment. Wheeler or Real Avid make some fine kits.
I strongly recommend the video attached here to go through step by step. I work much better from videos than step by step pictorials.
⦁ You will separate the upper form the lower.
⦁ Remove plastic clamshell handguards using handguard removal tool or by hand.
⦁ Place upper in vise block and remove the 3 pins in the A2 front sight post. The gas tube pin and the 2 tapered pins. The taper pins only go one direction you want to pound them out from the small head side or use a bench block labeled “pins in “ “pins out”. Set the small pin aside as you will re-use it in your low profile gas block.
⦁ Place upper in vise block or on spline tool and clamp in bench vise.
⦁ Remove muzzle device and crush washer.
⦁ Slide sight post/gas block off barrel and remove gas tube and set aside for re-use
⦁ Using armorers wrench remove MIL-SPEC barrel nut. These can be a bugger and mat require some heat. If all else fails the pipe wrench has never let me down. This will however usually destroy the barrel nut beyond re-use.
⦁ Slide new barrel nut over barrel and tighten to manufacturers spec. I use a little never seize on mine for easier removal in the future.
⦁ Assemble gas block and gas tube with small drift pin
⦁ Slide gas block over barrel and align properly and tighten in place.
⦁ Install new crush washer and re-install muzzle device
⦁ Slide handguard into place and align and tighten to spec.
⦁ Install sights/optics and you’re ready to rock.
It seems like a lot of work but its really not. Takes about ten minutes with the right tools. If you watch the video you will get a great idea how easy and quick it is.
Upgrading your own AR is very rewarding and addicting. Next comes a new buttstock and some ambidextrous controls, a light laser combo. The list goes on. To our AR15 handguard upgrade kits click here.
Be safe, shoot straight and have fun.