Welcome to our blog where we’ll be taking you through the exciting process of building your very own AR (ArmaLite Rifle). Whether you’re a seasoned gun enthusiast or a first-time builder, we’ll guide you through each step to create a custom AR that suits your needs and preferences. Today, we’ll cover the first part of the process – assembling the upper receiver.
1. Gather Your Components
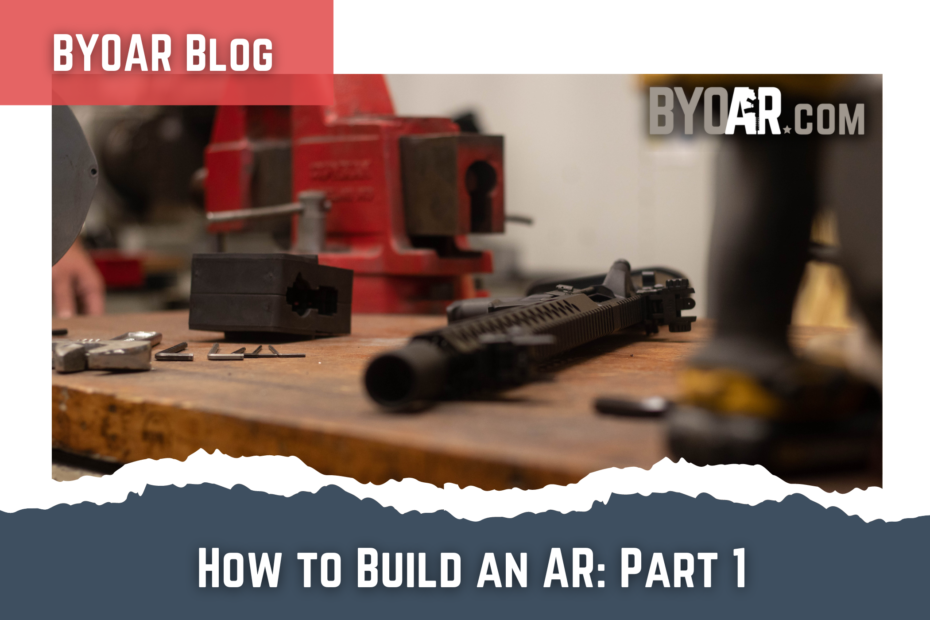
To get started, you’ll need a rifle kit that includes all the necessary components, except for the lower receiver. Our rifle kit contains the upper receiver, bolt carrier group, upper parts kit, charging handle, lower parts kit, and buttstock components. When purchasing individual parts, it’s essential to create a build sheet to ensure you don’t miss any crucial parts.
2. Define Your AR’s Purpose and Set a Budget
Before diving into the build, it’s essential to clarify your AR’s purpose. Determine whether you want a range gun, defense weapon, duty rifle, hunting rifle, or competition rifle. This decision will influence various aspects of your AR, such as weight, caliber, and accessories.
Setting a budget is also crucial. Keep in mind that you may end up spending slightly more than your initial budget, as you might come across exciting add-ons during the build.
For this blog, we’ll focus on building a standard AR-15 in 5.56 caliber, suitable for range shooting, home defense, and varmint hunting.
3. Assembling the Upper Receiver
Today, we’ll start working with the upper receiver components since the lower receiver is not yet available. Let’s take a look at the components and start with the forward assist.
Installing the Forward Assist
The forward assist is essential for closing the bolt if needed. With the help of a bench block designed to hold the parts in the proper position such as Real Avid AR bench block. Apply a little grease to the parts makes the assembly smoother. Use a roll pin starter to tap the pin into place, ensuring the forward assist is secure.
Attaching the Dust Cover
The dust cover protects your AR from dirt, dust, and debris that could cause malfunctions. A small c-clip is used to secure the dust cover pin. After installing the clip, carefully feed the pin through the upper receiver’s hole, and place the dust cover door upside down over the pin. Insert the spring and twist it into position and finish fully inserting the pin.
Installing the Charging Handle
Greasing the charging handle’s components is essential to ensure smooth operation. Slide the charging handle into the upper receiver, leaving it partially exposed for now. then slide the bolt carrier group into place and seat the charging handle and bolt carrier group forward.
Important Tip: Lubrication
Keep in mind that a brand-new AR requires proper lubrication. Just like an engine needs oil, your AR’s metal components need to be well-lubricated to function correctly. Ensure you apply sufficient oil to your bolt carrier group before assembly.
Final Checks
Before proceeding, ensure the bolt carrier group operates smoothly. It should move up and down easily and exhibit proper movement when using the forward assist.
Step 1 Completed
Congratulations! You’ve successfully assembled the first part of your AR – the upper receiver. In the next installment, we’ll cover the remaining steps, including the barrel, handguard, gas block, and muzzle device.
Building an AR can be an immensely rewarding experience, allowing you to customize your firearm to your preferences and intended use. Stay tuned for our next blog post, where we’ll continue our journey into building your dream AR. Happy building!
BE SAFE, SHOOT STRAIGHT, AND HAVE FUN!