Building Your Custom AR: Completing the Upper Receiver
Welcome back to our series on building a custom AR (ArmaLite Rifle) from scratch! Last week, we discussed the importance of having a clear purpose for your build and setting a budget. We also assembled the bulk of the upper receiver, including the dust cover, forward assist, bolt carrier group, and charging handle. Today, we’ll dive into the final steps of completing the upper receiver.
Step 1: Installing the Barrel
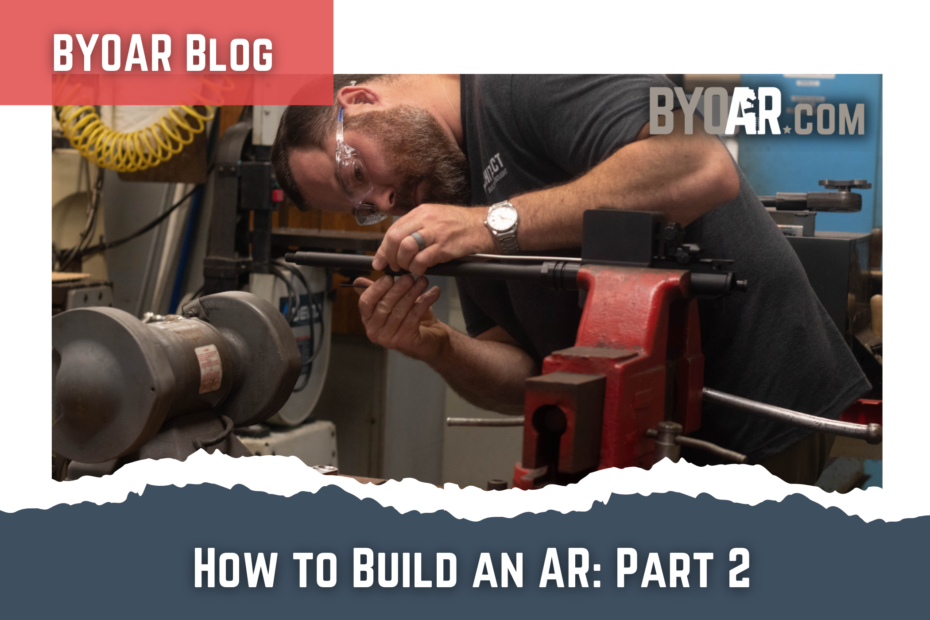
To get started, we need to remove the bolt carrier group and charging handle to make room for the barrel installation. We have a 5.56 NATO 16-inch barrel with a black nitride finish and a mid-length gas system.
Before installing the barrel, apply a little grease to where the barrel goes into the upper receiver. Additionally, add some anti-seize compound to the threads of the upper receiver. This will ensure a smooth and secure fit for the barrel that will be easy to disassemble if ever needed.
Next, align the barrel nut with the upper receiver and torque it to spec thereby stretching the threads. Once snug, let it sit for a moment to conform and then loosen it. Repeat this process by retightening the barrel nut to the specified torque to ensure a solid lock-up.
Step 2: Installing the Gas Block and Tube
With the barrel in place, it’s time to install the gas tube and gas block. The gas tube is inserted into the gas block, and a roll pin secures it in place. Double-check to ensure the gas hole aligns with the gas blocks gas hole, allowing air to pass through when blowing into the tube.
A dab of grease on the gas journal and inside the gas block helps facilitate a snug fit. Attach the gas block to the barrel and tighten the set screws. For a dimpled barrel, gas tube alignment is not a concern. For a non-dimpled barrel a gas block alignment tool may be necessary.
Step 3: Muzzle Device and Handguard Installation
Choose a muzzle device suitable for your needs, whether it’s a flash hider, muzzle brake, or blast diverter. A Crush Washer is ideal for most devices, while flat washers are preferred for certain mounts like the Keymo mount for a silencer.
When installing a muzzle device that requires almost a full turn, it’s best to gradually tighten the Muzzle Device, alternating with loosening to avoid snapping the Crush washer.
With the barrel and muzzle device in place, slide the handguard over the barrel nut, align it with the Picatinny rail, and tighten the screws. Make sure to leave a slight gap in the clamp area of the clamping lug to ensure you don’t damage the handguard.
Step 4: Installing Iron Sights
Iron sights consist of a rear peep or aperture sight and a front post sight. To optimize sight radius, position the rear sight as far back as possible without interfering with the charging handle. Similarly, place the front sight as far forward as the picatinny rail allows.
Ensure a good sight radius for more precise adjustments. The distance between front and rear sights affects your sight picture and accuracy.
Final Steps and Completion
With the upper receiver now complete, you have a functional upper ready to be paired with a lower receiver. In the next two weeks, we’ll tackle the lower receiver build, install the lower parts kit, butt stock, and more.
Remember, building your own AR can be both rewarding and educational. Our step-by-step guidance will make the process a breeze, and you’ll have a custom firearm tailored to your preferences.
Stay tuned for the next blog post as we proceed with the lower receiver assembly, and don’t forget to register your sights for the lifetime warranty.
Thank you for joining us on this journey to build your very own custom AR. See you next time!
BE SAFE, SHOOT STRAIGHT, AND HAVE FUN!
After builing the AR, I shot it and it would not eject. I’ve been on the blog asking for help but no response. I find today after going to a gunsmith that there was no Hole in the barrel for the gas tube to work. Is this true? There is no hole, but does there need to be?
What going on… The blog won’t let me send this message saying that I have already sent a message about my my AR not ejecting. That’s TRUE…… but, I have NEVER been given an answer. The part about the gunsmith is new. I need some support here.
After building the AR, I shot it and it would not eject. I’ve been on the blog asking for help but no response. I find today after going to a gunsmith that there was no Hole in the barrel for the gas tube to work. Is this true? There is no hole, but does there need to be?
What going on… The blog won’t let me send this message saying that I have already sent a message about my my AR not ejecting. That’s TRUE…… but, I have NEVER been given an answer. The part about the gunsmith is new. I need some support here.