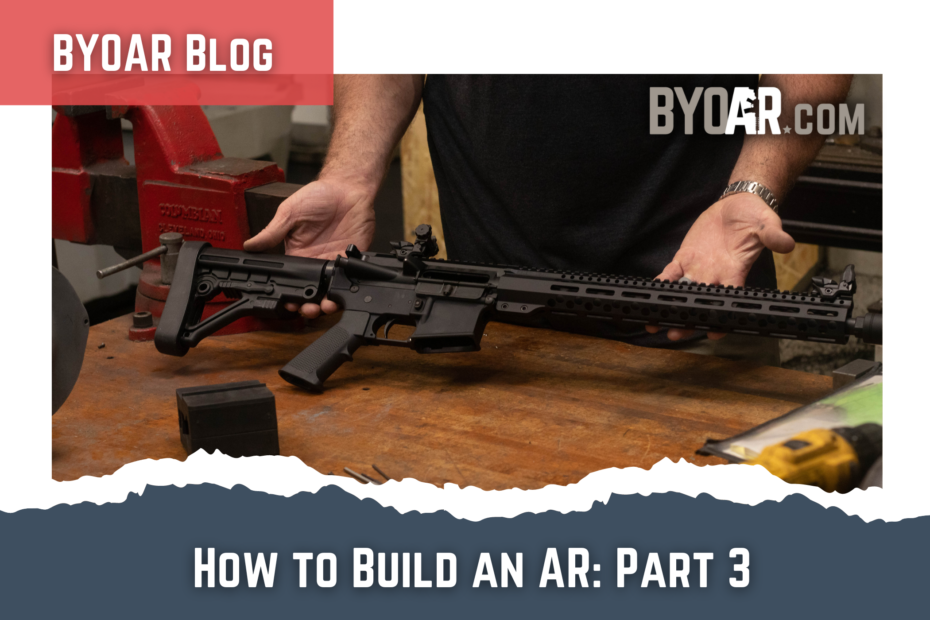
Building Your Custom AR: Completing the Lower Receiver
Welcome back to our custom AR build series! Today, we’ll focus on the lower receiver assembly, where we’ll install the magazine release, bolt catch, front pivot pin, and trigger guard.
Step 1: Magazine Release Installation
To begin, grab your lower parts kit, which includes the magazine release, bolt catch, safety selector, and more. We’ll start with the magazine release. Insert the magazine release into the lower receiver and secure it in place with the provided large spring and the mag release button. Ensure the button is flush with the receiver, and when pressed, it stays in place without popping out. test with a magazine to ensure magazine retention and release.
Step 2: Installing the Bolt Catch
Next up is the bolt catch assembly. Take the small bolt catch spring and place it into the hole designated for it on the lower receiver. On top of the spring, position the bolt catch detent, which has two diameters. Make sure the larger diameter rests over the spring. Then, insert the bolt catch itself, serrations facing upward, and the mag release pointing into the mag well.
With the bolt catch in position, you’ll need a small roll pin to secure it in place. Carefully tap the pin into the hole, making sure it aligns correctly. To avoid scratching the anodized lower receiver, you can use a vice as a press to finish securing the pin.
Step 3: Front Pivot Pin Installation
Moving on to the front pivot pin, which can be a challenge due to its tiny detent and spring. A helpful trick is to lay the spring across the pivot pin hole and position the detent on top of it. Hold the pin with your fingers, so it doesn’t escape, and use the pin to gently push the detent into the hole. rotate the pin 90 degrees and push into the hole provided for it.This technique helps prevent the detent from flying away and ensures a smooth installation.
Step 4: Trigger Guard Attachment
Lastly, we’ll install the trigger guard. The key to preventing damage is using a bench block with support for the trigger guard’s ears. Place the trigger guard into the provided hole and align the spring-loaded pin in the correct direction, making sure it fits snugly.
Using a pin starter, gently tap the pin into place. Once it’s started, you can use a vice as a press to complete the installation without risking damage to the lower receiver.
Lower Receiver Almost Complete!
With the magazine release, bolt catch, front pivot pin, and trigger guard successfully installed, your lower receiver is nearly complete. Next week, we’ll add the pistol grip, fire control group, and butt stock, bringing us one step closer to assembling the rifle.
Remember, building your custom AR can be an exciting and rewarding experience. By following our step-by-step guidance, you’ll have a unique firearm that perfectly suits your needs and preferences.
Join us next time as we continue with the final steps of our custom AR build series. Until then, happy building!
BE SAFE, SHOOT STRAIGHT, AND HAVE FUN!